Use APKPure App
Get Unique Styrofoam Robot ideas old version APK for Android
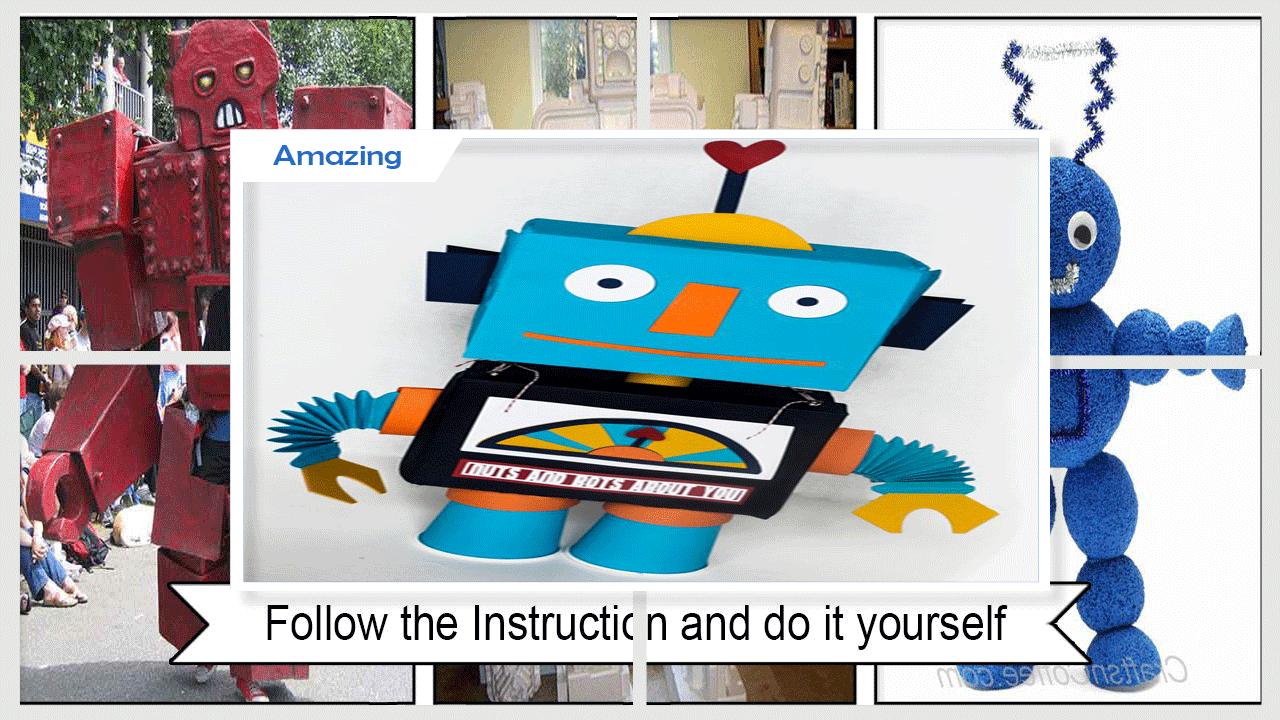
Unique Styrofoam Robot Ideas With Easy Steps To Follow. You Will Love Them!
Kids will have a blast creating their own shiny silver sidekicks! Invent robots using inexpensive foam shapes and interesting odds-and-ends from the recycling bin.
Completion time – 2-4 hours
Materials
STYROFOAM Brand Foam
Balls: 1-1/2", two; 1", one
Block, 10"x4"x1"
Cubes: 5"; 4"; 2"
Discs, 3"x1", two
Other Materials
Metallic silver spray paint
(read label thoroughly to be sure it'sfoam-safe)
or silver, acrylic craft paint with stiff paintbr
Cardboard paper towel tubes, two
Flexible drinking straws, four
Assorted recyclables: buttons; bottle caps; bolts;
wires; pen caps; knobs; etc.
Tools
Serrated knife
Candle stub or paraffin
Fine-line black permanent marker
Pencil
Ruler
Scissors
Wire cutters
Low-temp glue gun and glue sticks and/or thick, wh
Toothpicks
Optional: extra-large cardboard box
Instructions
Caution:This project requires adult supervision. Children
should never use a serrated knife or glue gun unsupervised;
only adults should handle a glue gun and serrated knife.
Caution: Small pieces may pull loose; closely supervise small
children around robot.
1. Stack foam cubes largest to smallest; glue cubes together
to form head/body. If using white craft glue, insert
toothpicks between pieces to help hold cubes together while
glue dries.
2. Cut cardboard tubes to desired length for legs. Clip tubes
every 1/2" around each opening to form tabs; fold tabs
outward. Glue bottom tabs onto foam disc feet. Glue top tabs
to bottom of body. Glue 1" foam balls to legs for knees.
3. Wax serrated knife with candle stub or paraffin. Measure
and cut four 1" x 2" rectangles from foam block for arms. Cut 1"
foam ball in half for knees. Press one side of each remaining
foam ball against work surface to flatten slightly.
4. Cut flexible portion from four drinking straws. Use pencil
point to poke small holes in center top and bottom of each arm
section and into body at shoulder; apply glue to straw ends
and insert in holes as shown. Note: Let glue dry completely
before moving arms.
5. Glue knees to legs and flattened side of 1-1/2" foam ball
hands to arms.
6. Refer to photo to glue buttons, control boxes, antennae,
and other mechanical parts to robot. Let dry.
7.Place completed robot in extra-large cardboard box, if
desired. Follow manufacturer's instructions to apply two to
three light coats of spray paint to prevent drips. Let dry.
Or, brush on silver paint using a stiff brush and "scrubbing"
motion for thorough coverage.
the creativity is endless. so enjoy your own favorite guys!
for further information and detail tutorial, download this application now and you will have what you want.
please enjoy this tutorial and give us any feedback.
Last updated on Dec 17, 2017
Minor bug fixes and improvements. Install or update to the newest version to check it out!
Latest Version
![]() 7.1
7.1
Requires Android
4.0 and up
Category
Report


Discover what you want easier, faster and safer.

Unique Styrofoam Robot ideas
7.1 by Soneiko
Dec 17, 2017